Catalog · How the catalog works
Goat-Rainmeter-Setup

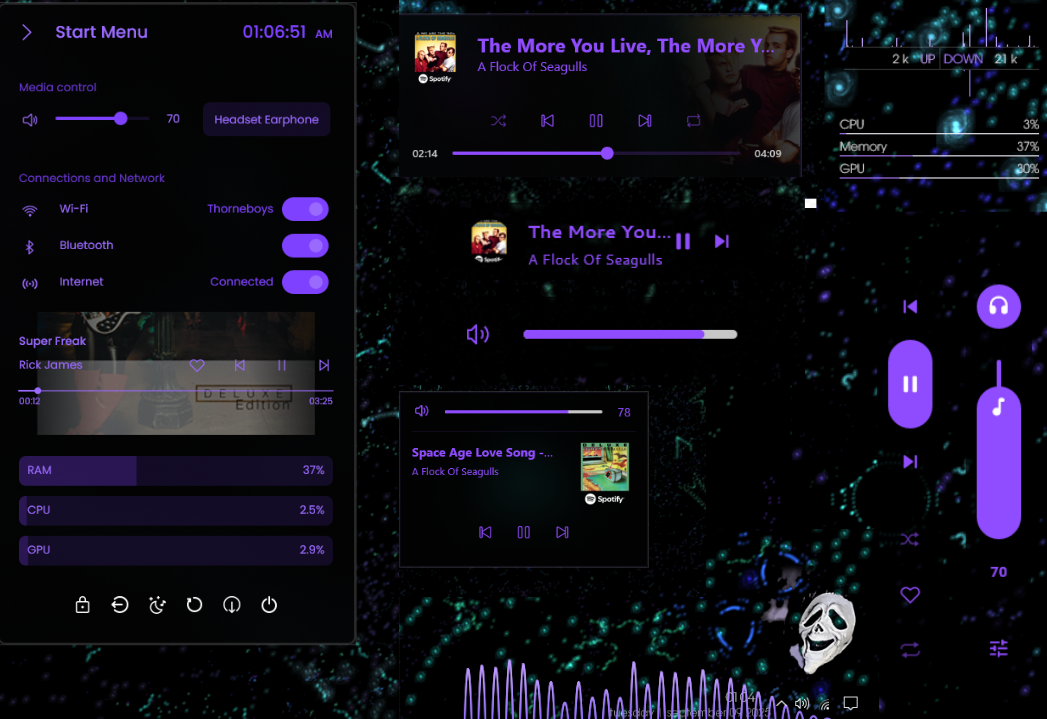
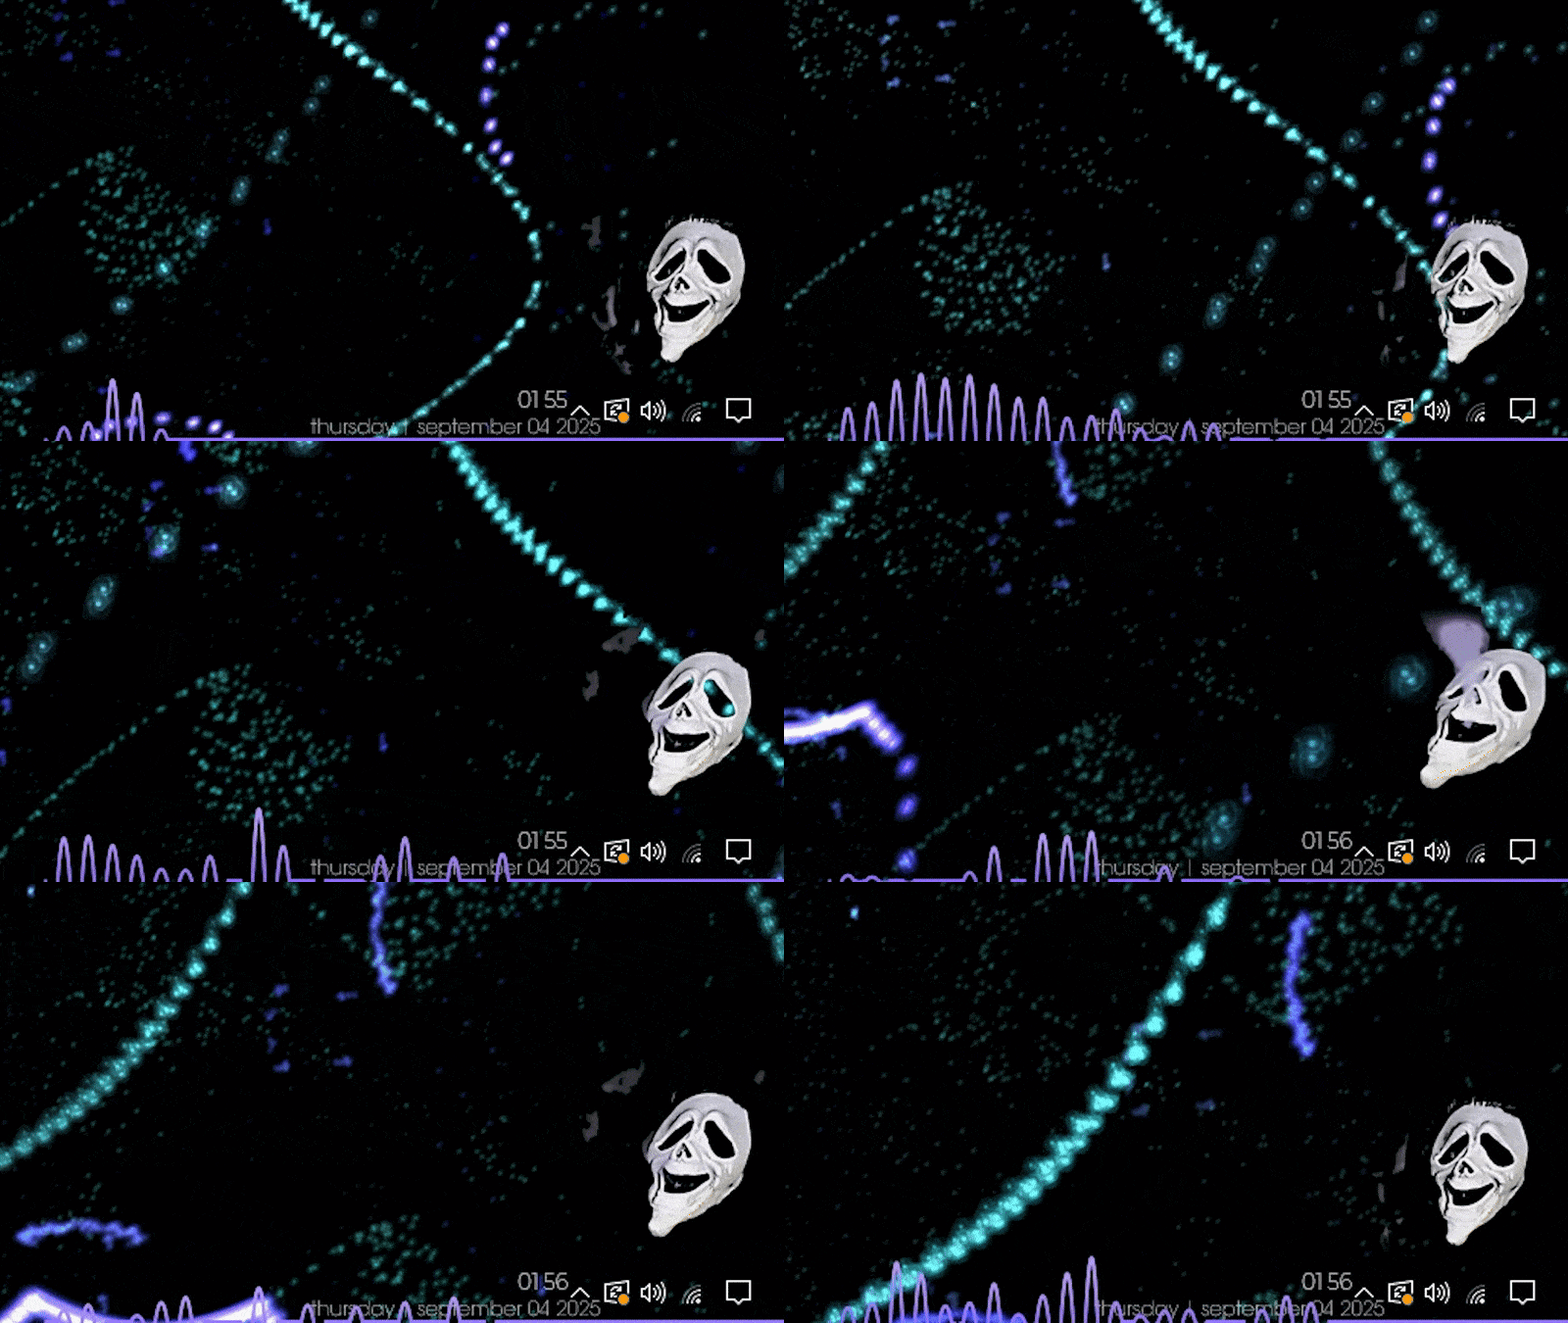
Enjoy some tweaks in Windows 10/11 with this Rainmeter setup!
- ★ 5 on GitHub
Anyone may press Interesting, signed in or not. It helps others find this project.
README
Goat Rainmeter Setup
Enjoy some tweaks in Windows 10/11 with this Rainmeter setup!
This repo is above 100mb's so downloading it on Github may be problematic
Suggest to download from here
HOW TO INSTALL:
Wikki Jaxcore Getting Started (If you need)
- You will have to do some onboarding when you initially install JaxCore,
I recommend to select Hardware Acceleration and pause when game is in fullscreen mode - Once these have been installed go to this path address in your File Explorer:
C:\Users\%USERNAME%\Documents\Rainmeter\Skins - Paste all the folders that are inside this pack's Skin's Folder into:
C:\Users\%USERNAME%\Documents\Rainmeter\Skins - If you already have some of the same Skins in your Skins Folder replace them with the ones from this pack
(Don't replace the Skin Folder itself with this one, just the folders that are inside the Skins Folder if it asks you about replacing) - Move the Sonder green drop icon
.rmskinfile from this pack into:
C:\Users\%USERNAME%\Documents\Rainmeter - Run the Sonder.rmskin file to install that Skin
- Go to your system tray (the upward arrow at the bottom left of your taskbar) — you should see the Rainmeter drop icon there
- Right click the Rainmeter icon and click Refresh All
- Open JaxCore by Windows Search
If it doesn't appear in search, then double click your Rainmeter icon in your system tray > expand the #JaxCore folder > expand the Main folder > double clickConfigurator.inito open JaxCore - On the JaxCore app select Library, one by one activate
YourFlyouts,ValliStart,IdleStyle, andOverlayer
(You don't need to install them from JaxCore App because you already placed the source files for those in your Rainmeter Skins folder)
At first all these skins may activate a little messy or scattered, this is where you can tweak the settings for each one to your liking
HOW TO CUSTOMIZE YOUR OVERLAYER IMAGE/GIF
OPTION 1: USING A SINGLE IMAGE
- Put your image into this location:
C:\Users\%USERNAME%\Documents\Rainmeter\Skins\Overlayer\@Resources\UserImages - Rename your image to
frame_0(Windows will keep whatever extension the file already has, e.g.,.gif,.png, or.jpg) - Then go to this location:
C:\Users\%USERNAME%\Documents\Rainmeter\Skins\Overlayer\@Resources - Find the Vars.inc file > Right click > Edit
Change these values in Vars.inc:
- Change
ImageName=GirlCoffeeOverlaytoImageName=WHATEVERYOUWANT
(this is just a descriptive name that shows in settings) - Change
TotalFrames=80toTotalFrames=1 - Save the file.
If you're not using .gif format:
- Go to this location:
C:\Users\%USERNAME%\Documents\Rainmeter\Skins\Overlayer\Main - Find the Main.ini file > Right click > Edit
- Find the line that says:
String=#@#UserImages\frame_[FrameCalc].gif - Change the
.gifat the end to match your file format - Save the file
- Refresh all skins: (Find the Rainmeter drop icon in your system tray > Right click > Refresh All)
OPTION 2: USING AN IMAGE SEQUENCE (ANIMATED)
I modified Overlayer Skin to support an animation including transparent animations,
but this can only be done using an image sequence (images of each frame)
Video to .JPG
Video to .PNG
GIF to .JPG
Or you can use something more advanced like ImageMagick (With FFmpeg) for more options
- Insert all your image frames into this location:
C:\Users\%USERNAME%\Documents\Rainmeter\Skins\Overlayer\@Resources\UserImages - Every image frame needs to be named exactly like this:
frame_0
frame_1
frame_2
frame_3
...and so on
I know that can be a great pain to do manually, so I created a Powershell script you can use here
(Ignore the comment I make at the bottom of the script post, because they do need to stay named as frame_0 , frame_1 , frame_2 ...etc...)
(The file format can be .gif, .png, or .jpeg — just make sure all your images in your image sequence are the same format)
- Next, go to this location:
C:\Users\%USERNAME%\Documents\Rainmeter\Skins\Overlayer\@Resources - Find the Vars.inc file > Right click > Edit
Change these values in Vars.inc:
- Change
ImageName=GirlCoffeeOverlaytoImageName=WHATEVERYOUWANT(this is just a name to show in Jaxcore settings) - Change
TotalFrames=80toTotalFrames=XX(where XX is the TOTAL NUMBER of frames you have)
For example:
If you have frame_0 through frame_49, that's 50 frames total including 0, so set as:
TotalFrames=50
- Save the file
CHANGE THE SET FILE FORMAT TO YOURS: (If you're not using .gif)
- Go to this location:
C:\Users\%USERNAME%\Documents\Rainmeter\Skins\Overlayer\Main - Find the Main.ini file > Right click > Edit
- Find the line that says:
String=#@#UserImages\frame_[FrameCalc].gif - Change the
.gifat the end to match your file format - Save the file
- Refresh all skins (Find the Rainmeter drop icon in your system tray > Right click > Refresh All)
EXTRA NOTE:
You can adjust position, size, and other display settings through the JaxCore app by going to:
Library > Overlayer > Settings
HOW TO CUSTOMIZE YOUR FLYOUTS
- On the JaxCore app Library select YourFlyouts > Layout
- Try out the different Flyout options (trigger display button is F2, pause audio button, or volume adjust)
HOW TO CUSTOMIZE YOUR IDLESTYLE IMAGE
- Insert whatever image you'd like into this location:
C:\Users\%USERNAME%\Documents\Rainmeter\Skins\IdleStyle\@Resources\Images - Then go to this location:
C:\Users\%USERNAME%\Documents\Rainmeter\Skins\IdleStyle\Launch\Vars - Find the
String.incfile in there > Right click > Edit - Change the
Idlebackground.jpgname to the name of your new custom image, and include the file format at the end (.jpg,.png) - Refresh all skins after you're done this (Rainmeter drop icon in system tray > Right click > Refresh All)
EXTRA INFO
Of course you can do whatever other tweaks and modifications as you wish in the
JaxCore Skin Settings, the Sonder Skin settings, or the Skin source files themselves
This is just my modified & personal setup, that also provides a couple new features to skins,
such as animated image sequence support for Overlayer.
SKIN CREDITS:
- Sonder Skin
- Sonder GitHub
- Jaxcore Website
- Jaxcore GitHub
- YourFlyouts
- Overlayer
- IdleStyle
- YourMixer
- ModularVisualizer
- ModularPlayers
- ModularClocks
Found this useful?